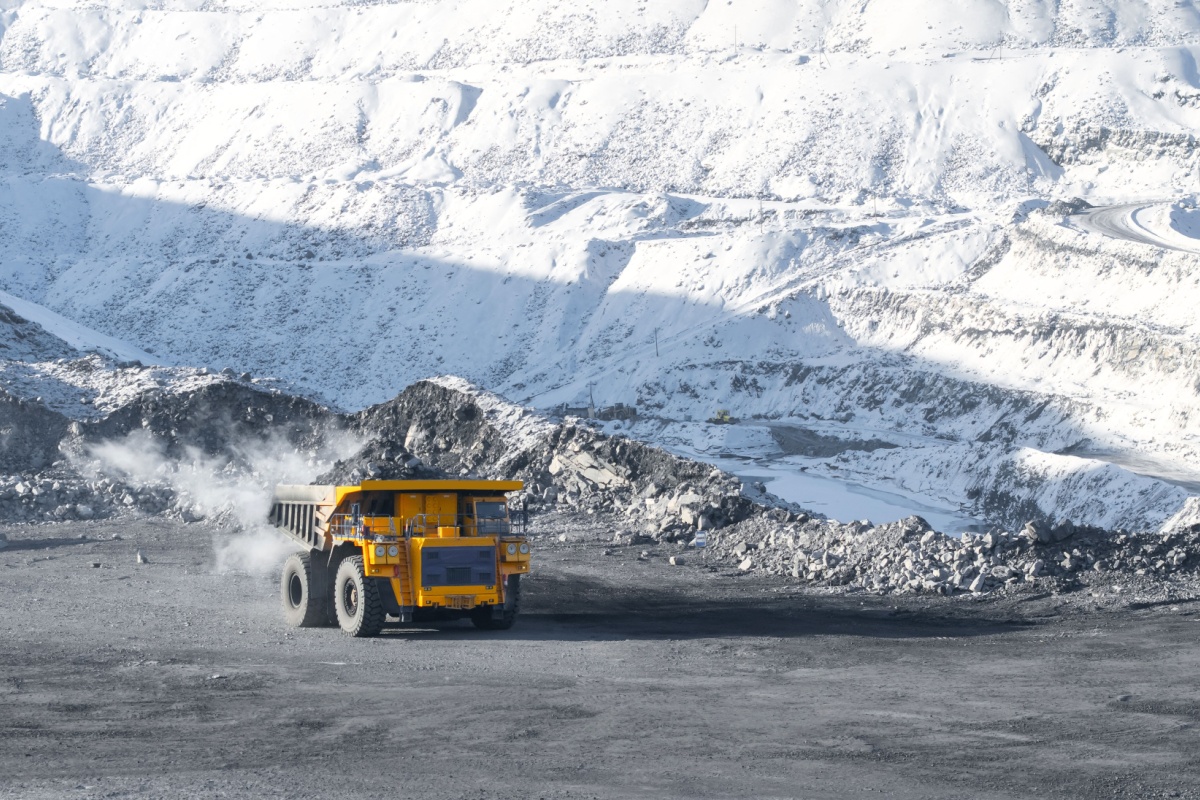
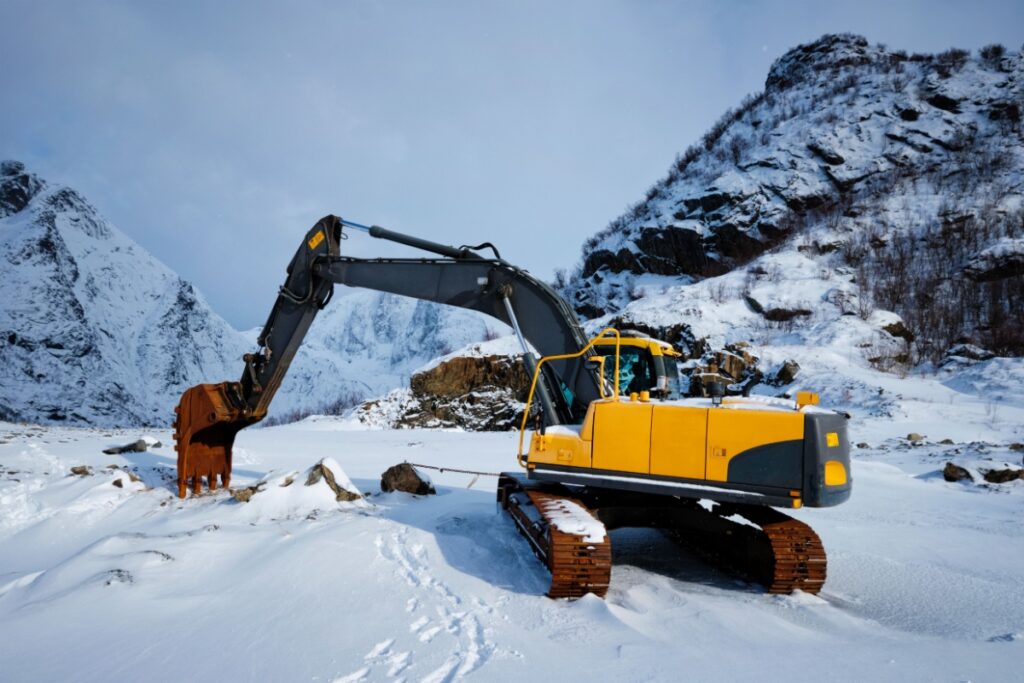
Winter hits your heavy equipment hard, especially the cooling systems that keep engines running smoothly. When temperatures drop below freezing, coolant can turn into ice that expands and cracks radiator cores, engine blocks, and heat exchangers — leading to thousands of dollars in damage and costly downtime.
Proper winterization protects your cooling systems from freeze damage by ensuring adequate antifreeze protection, inspecting critical components, and preparing backup heating systems before cold weather arrives. Northland Radiator has seen countless pieces of equipment damaged by inadequate winter preparation, which is why the team recommends following these maintenance best practices before cold weather sets in.
Why Winter Preparation Matters for Your Heavy Equipment
You’ve probably seen the aftermath of frozen cooling systems — cracked radiator cores, burst hoses, and damaged engine blocks. Ice expands with tremendous force when water freezes, creating pressure that can destroy even heavy-duty components in minutes.
Your heat exchangers and oil coolers face the same risks. When coolant freezes inside these units, the expanding ice can crack internal tubes and damage cooling fins. A single night of extreme cold can turn a functional piece of equipment into a repair nightmare.
The cost goes beyond just parts and labour. When your equipment sits in the shop for construction machinery repairs, you lose productivity and miss deadlines. Proper winterization prevents these problems and keeps your fleet running through the coldest months.
Pre-Winter Cooling System Inspection
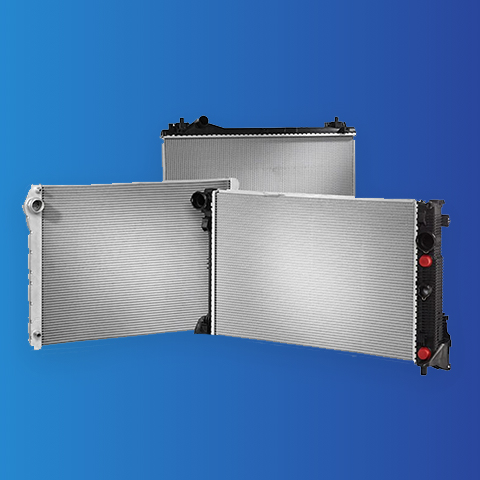
Check Your Radiator & Heat Exchanger Condition
Start by examining your radiator core for signs of coolant leaks. Look for white residue or green stains around the core edges, which indicate coolant has been seeping out. Check that mounting brackets hold the radiator securely and inspect fan shrouds for cracks or loose fasteners.
Test your radiator cap with a pressure tester to make sure it maintains proper system pressure. A weak cap can allow coolant to boil at lower temperatures, creating air pockets that reduce heating efficiency.
Examine the cooling fins on your radiator and heat exchangers. Bent fins reduce airflow, while debris buildup blocks heat transfer. Clean out leaves, dirt, and other materials that can trap moisture and cause corrosion. Regular heat exchanger cleaning improves overall cooling efficiency and prevents winter freeze damage.
Evaluate Coolant Lines & Connections
Run your hands along coolant hoses to feel for soft spots, cracks, or swelling. These weak areas can burst when pressure increases during heating cycles. Pay special attention to hoses near hot engine components, where heat accelerates rubber deterioration.
Tighten loose hose clamps and fittings, but don’t over-tighten them. Metal clamps can cut through hose material when they’re too tight. Replace any gaskets or seals that show signs of hardening or cracking.
Test your thermostat by watching coolant temperature during warm-up. A stuck thermostat can prevent proper coolant circulation, creating hot spots that damage engine components.
Coolant System Preparation Steps
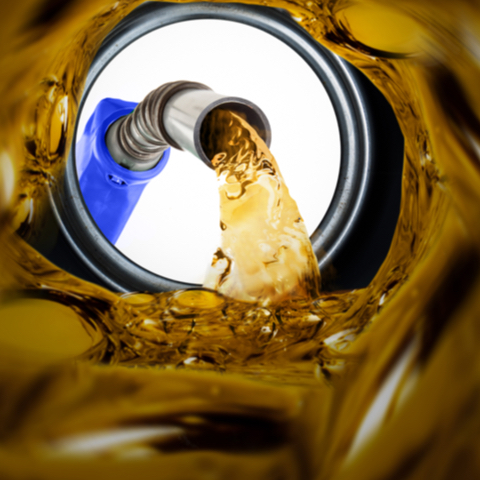
Test Your Current Antifreeze Protection
Use a refractometer to get accurate readings of your antifreeze concentration. Test strips and floating hydrometers can give false readings, especially with contaminated coolant. You need protection down to at least -40°C for most Canadian winter conditions.
Check the pH level of your coolant with test strips. Acidic coolant corrodes aluminum components, while alkaline coolant can damage gaskets and seals. Fresh coolant should have a pH between 7.5 and 11.
Document when you last changed the coolant and what type you used. Different coolant formulations don’t mix well, and old coolant loses its corrosion inhibitors over time.
Flush & Replace Coolant When Needed
Drain the old coolant completely by opening drain plugs on the radiator and engine block. Old coolant often contains rust particles and other contaminants that can clog narrow passages in heat exchangers.
Flush the system with clean water until it runs clear. For heavily contaminated systems, use a cooling system cleaner following the manufacturer’s instructions. Add fresh coolant mixed to the proper concentration for your operating conditions.
Bleed air from the cooling system by running the engine with the radiator cap off until the thermostat opens. Air pockets prevent coolant circulation and can cause overheating even in cold weather. Watch for signs that indicate you might need a radiator flush before winter arrives.
Oil Cooler & Charge Air Cooler Protection
Prepare Oil Cooling Systems
Inspect your oil cooler housing for external leaks around fittings and mounting points. Oil leaks attract dirt and debris that can block cooling fins. Look for signs of corrosion where dissimilar metals contact each other.
Test the cooler core for internal leaks by checking for coolant in the oil or oil in the coolant. A pressure test can reveal small leaks that aren’t visible during normal operation. Internal leaks contaminate both fluids and reduce cooling efficiency.
Clean accumulated debris from cooling fins using compressed air or a soft brush. Work from the clean side toward the dirty side to avoid pushing contamination deeper into the core. Understanding different oil cooler types helps you choose the right maintenance approach for your specific system.
Winterize Charge Air Coolers
Check your intercooler system for boost leaks using a pressure test kit. Small leaks reduce engine power and can worsen in cold weather as seals contract. Pay attention to clamps and gaskets at connection points.
Clean intake and discharge connections to remove oil residue and carbon buildup. These deposits reduce airflow and trap moisture that can freeze in cold weather. Inspect mounting hardware for signs of vibration damage or loose fasteners.
Test charge air temperature sensors to make sure they provide accurate readings to your engine management system. Faulty sensors can cause poor fuel economy and reduced power output. Professional charge air cooler service can identify problems before they affect winter performance.
Block Heater & Cold Weather Equipment Setup
Install Engine Block Heaters
Choose block heaters rated for your specific engine size and configuration. Undersized heaters won’t provide adequate warming, while oversized units waste energy and can overheat coolant locally. Most heaters range from 1000 to 5000 watts depending on engine displacement.
Mount heaters in freeze plug locations or other ports designed for heating elements. Follow manufacturer torque specifications to prevent coolant leaks. Route electrical connections away from hot exhaust components and moving parts.
Test heater operation before you need them by checking amp draw and coolant temperature rise. A properly functioning heater should warm coolant noticeably within 30 minutes of operation.
Add Coolant Heaters & Circulation Pumps
Install inline coolant heaters for larger cooling systems that need extra heating capacity. These units mount in coolant lines and provide additional heat input during warming cycles. Size them according to your system’s total coolant volume.
Add circulation pumps to move heated coolant through the entire system. Static coolant can freeze in remote areas while heated sections stay warm. Timer controls can start circulation pumps before engine startup.
Insulate exposed cooling lines in areas where they might freeze. Use foam pipe insulation or heat trace cables for lines that can’t be drained or protected by antifreeze. If you notice your equipment’s heating system takes too long to warm up, additional insulation might solve the problem.
Get Professional Winter Preparation Help
Complex cooling system problems require specialized knowledge and equipment. When your radiator cores need rebuild or replacement, cooling system specialists have the tools and experience to restore proper function. The team can also modify heat exchangers for specific applications or operating conditions.
Oil cooler internal failures often aren’t obvious until complete breakdown occurs. Professional pressure testing and thermal imaging can detect problems early, before they cause engine damage or complete system failure.
Northland Radiator provides comprehensive winterization services for heavy equipment cooling systems. The team handles everything from routine coolant changes to custom radiator solutions, helping keep your equipment running through Alberta’s harsh winters. Contact us to schedule pre-winter inspections and make sure your cooling systems are ready for cold weather challenges.